We are pleased to announce the release of webShaper POS 2.0!
So, what’s new for webShaper POS v2.0?
- Major bug fixes.
- Major improvement on app performance.
- Customer Module Added: Able to Search (existing customer, including those buying online), Create or Assign customer to the physical store order.
- You can view the order history and statistics summary of a particular customer.
- Can assign loyalty points to your customers (webShaper bizStore only) according to your webShaper Store Point settings. To enable this, login to webShaper Control Panel > Marketing > Points > Click On Point assignment rules based on Purchase Amount field.
- Credit Card / Debit Card Payment method added for record purpose. This will also be printed on the receipt.
- You can view the product information (eg like SKU & Stock balance) by pressing on the product picture. This also enable you check stock before checkout to ensure you do not oversell the product. (Or you can set it to ignore the stock for every checkout to fulfill the walk in customer first. You can set it in Settings -> General -> Always check stock before checkout)
- Flat value discount for the total order is now supported.
- Improvement on Open Register/ Shift.
- Report Module added – You are able to track your daily sales on each iPad, and tracking down your cash drawer amount. You are able to print out the report for every closing too.
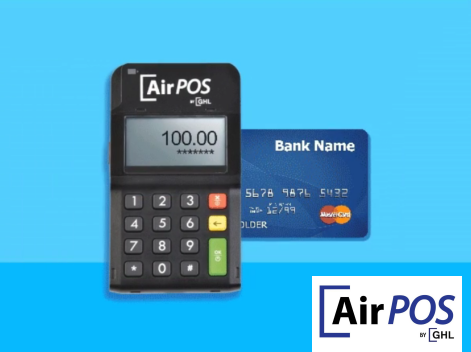
- GHL AirPOS , a simple card payment solution for your solution by GHL is seamlessly integrated!
All these new add-on and improvement while it still remain the simple to use, no-training needed POS product that sync with your online store (webShaper store)!
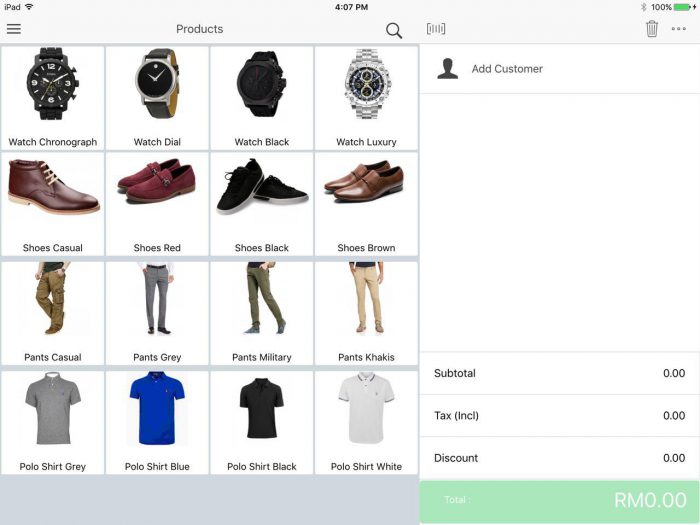
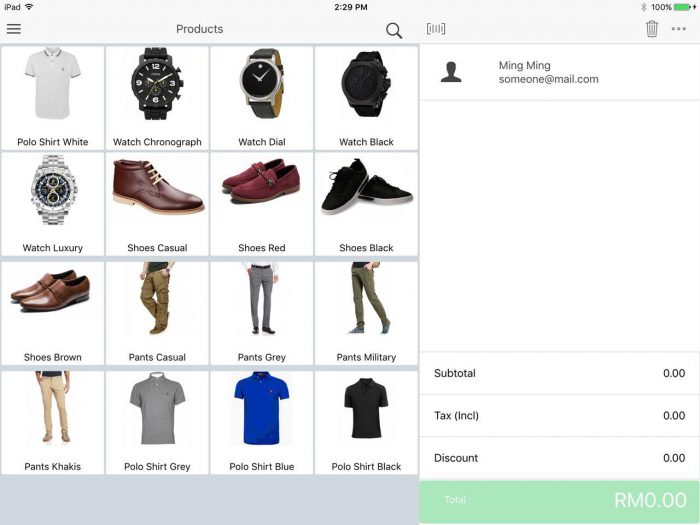
webShaper POS v2.0 home screen
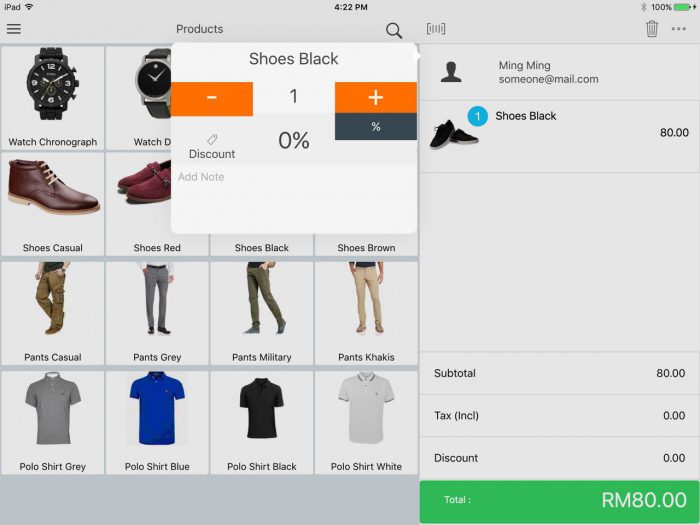 Easily apply discount (by percentage) to the product.
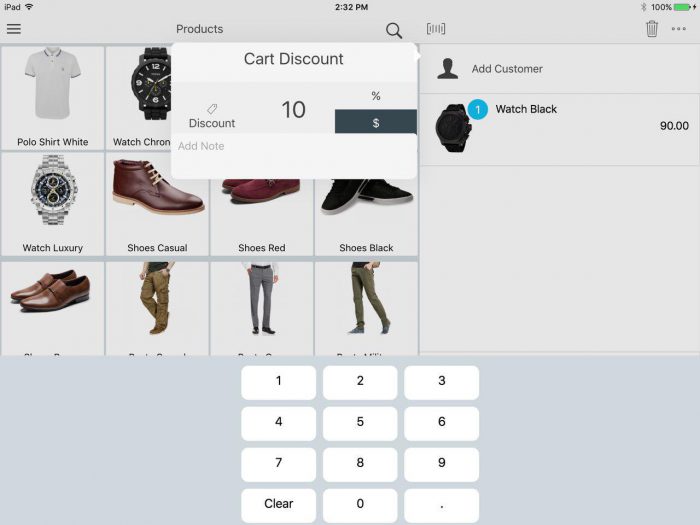
or can easily apply discount (by percentage or fixed value) to the total order.
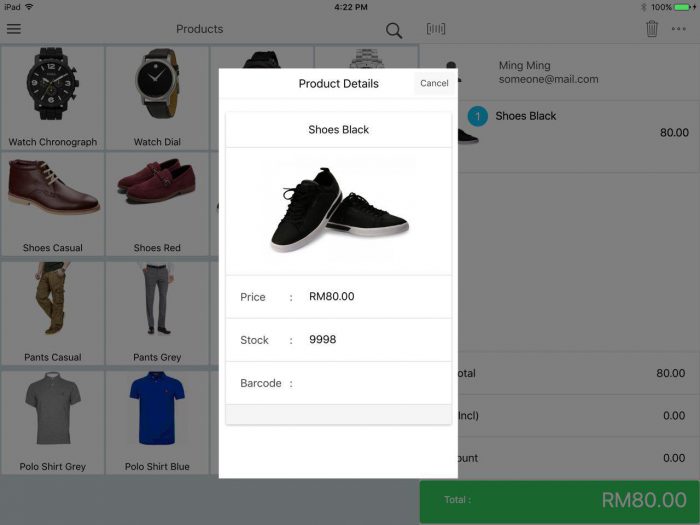 Want more product info? Press on the product picture to display SKU, Price, Stock and Barcode.
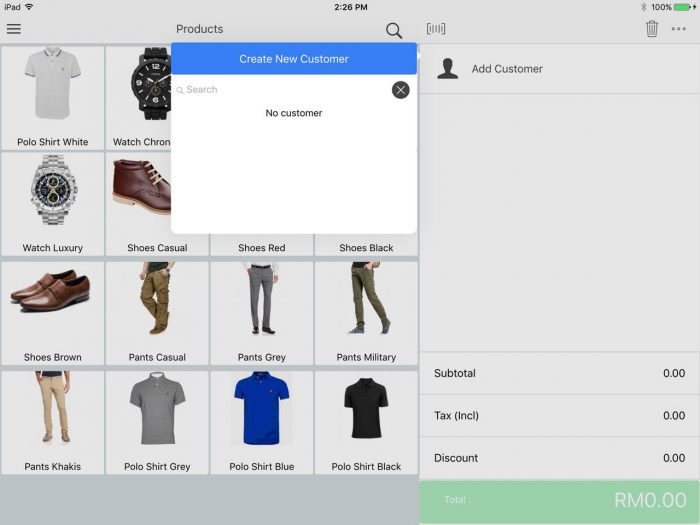
Not yet a registered customer? Now you can easily add your walk-in customer as one, and if you activate the points (in webShaper bizStore only), the points will be calculated too!
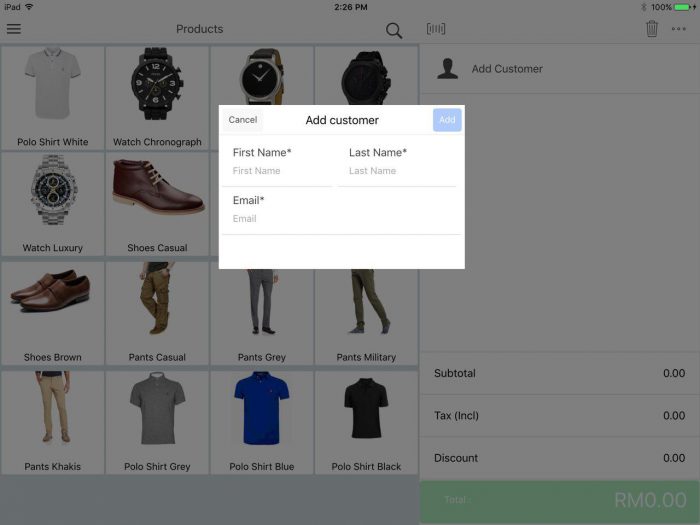 Creating a new customer – as easy as filling up just Name and Email.
If they are already your existing customer online, you can search for it and tie the order to them too!
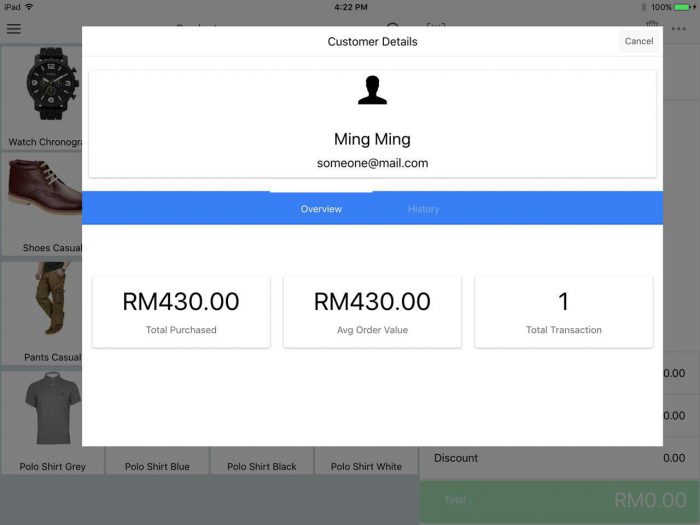
Want to know more about the walk-in customers details and transaction histories? It’s available at a press of your finger tips.
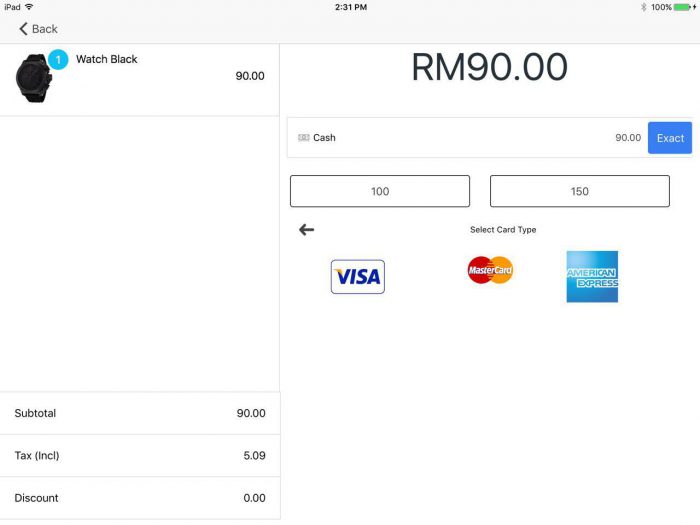
Credit Card / Debit card as payment method added. Also seamless integration with GHL Airpos.
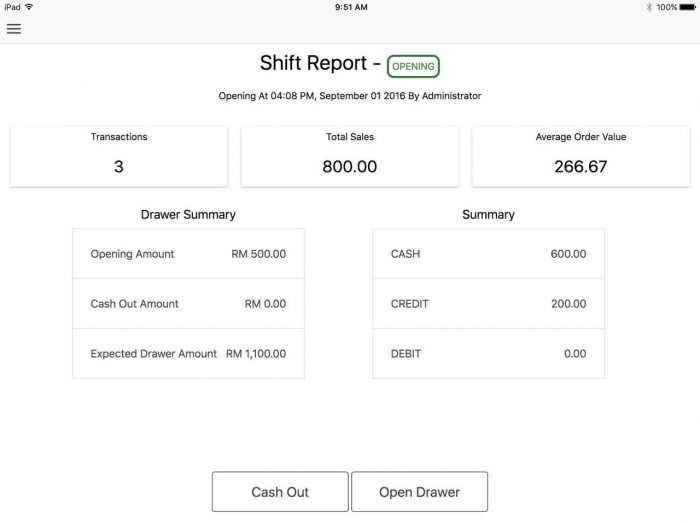
The improved Shift Report for Opening and Closing.
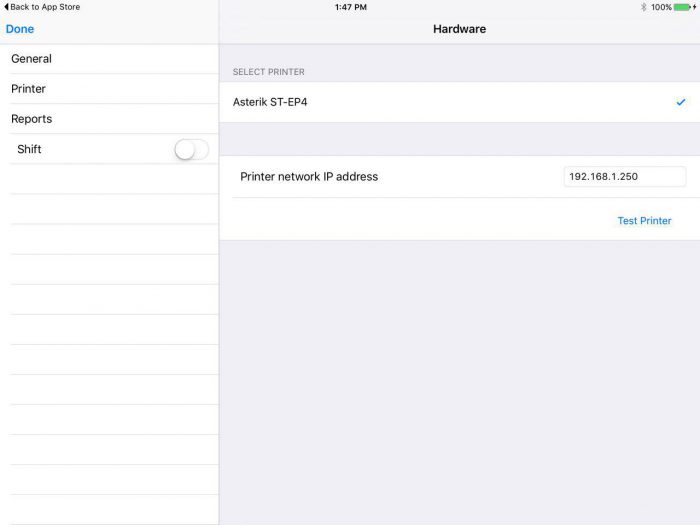
This is where you configure the Printer IP address.
IMPORTANT: For existing client on webShaper POS v1.0, here’s a few simple steps needed for smooth update:
Recommended to do these before shop operating hours (or before sign in to POS) or after shop operating hours (after sign out of POS) to avoid any problem.
- Login to the POS system.
- Go to Settings -> Printer and Record / Write down the Printer Network IP Address as shown in screenshot.
- The go to App store, update the webShaper POS.
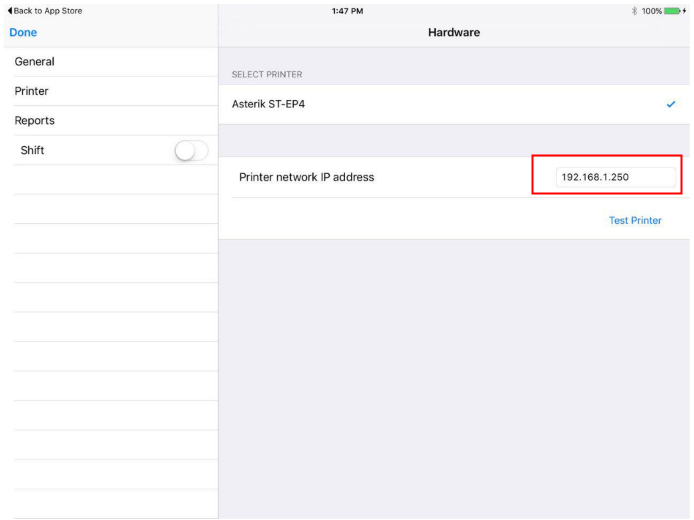
- After the webShaper POS is updated. Go to Settings -> Printer -> Printer Network IP Address, fill in the IP address you have just written down.
- Click Test Print button to test if your configuration is correct. If it is correct, a receipt should be printed out.
- Then Go to Settings -> General , fill in your Tax ID (if applicable) in order to let GST ID print out in receipt.
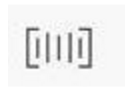
- Please take note that in this latest version, you will need to press this icon everytime before you scan the barcode using your bluetooth barcode scanner.
- All done? Then you are good to go!!!